
New Home Walkthrough Checklist: What to Look For Before Closing
New Home Walkthrough Checklist: What to Look For Before Closing

After months of decision making and hard work, one of the final steps in the home building process is a walkthrough to review your completed home with your builder. That first look can feel a little overwhelming when you finally see everything come together. Envisioning where your couch and coffee table will go, planning how to organize the kitchen cabinets, or simply enjoying how your carpet and wall trim complement each other are all easy delights that can draw your attention. Having a new home walkthrough checklist can help you enjoy the moment while keeping track of what you’re there to review.
For buyers preparing for a new home in Twin Falls or the Magic Valley, knowing what to look for can make the appointment more useful. We’ll cover interior finishes, home systems, and exterior areas, along with how to document concerns clearly so you and your builder can agree on the next steps.
What Is a New Home Walkthrough?
Your new home walkthrough is when you, as the buyer, walk through the home, ask questions, and review its visible condition with the builder or their representative. Often, this includes an introduction to operating the home. You may receive demonstrations of thermostats, appliances, ventilation, water shutoffs, and other features you’ll need to understand.
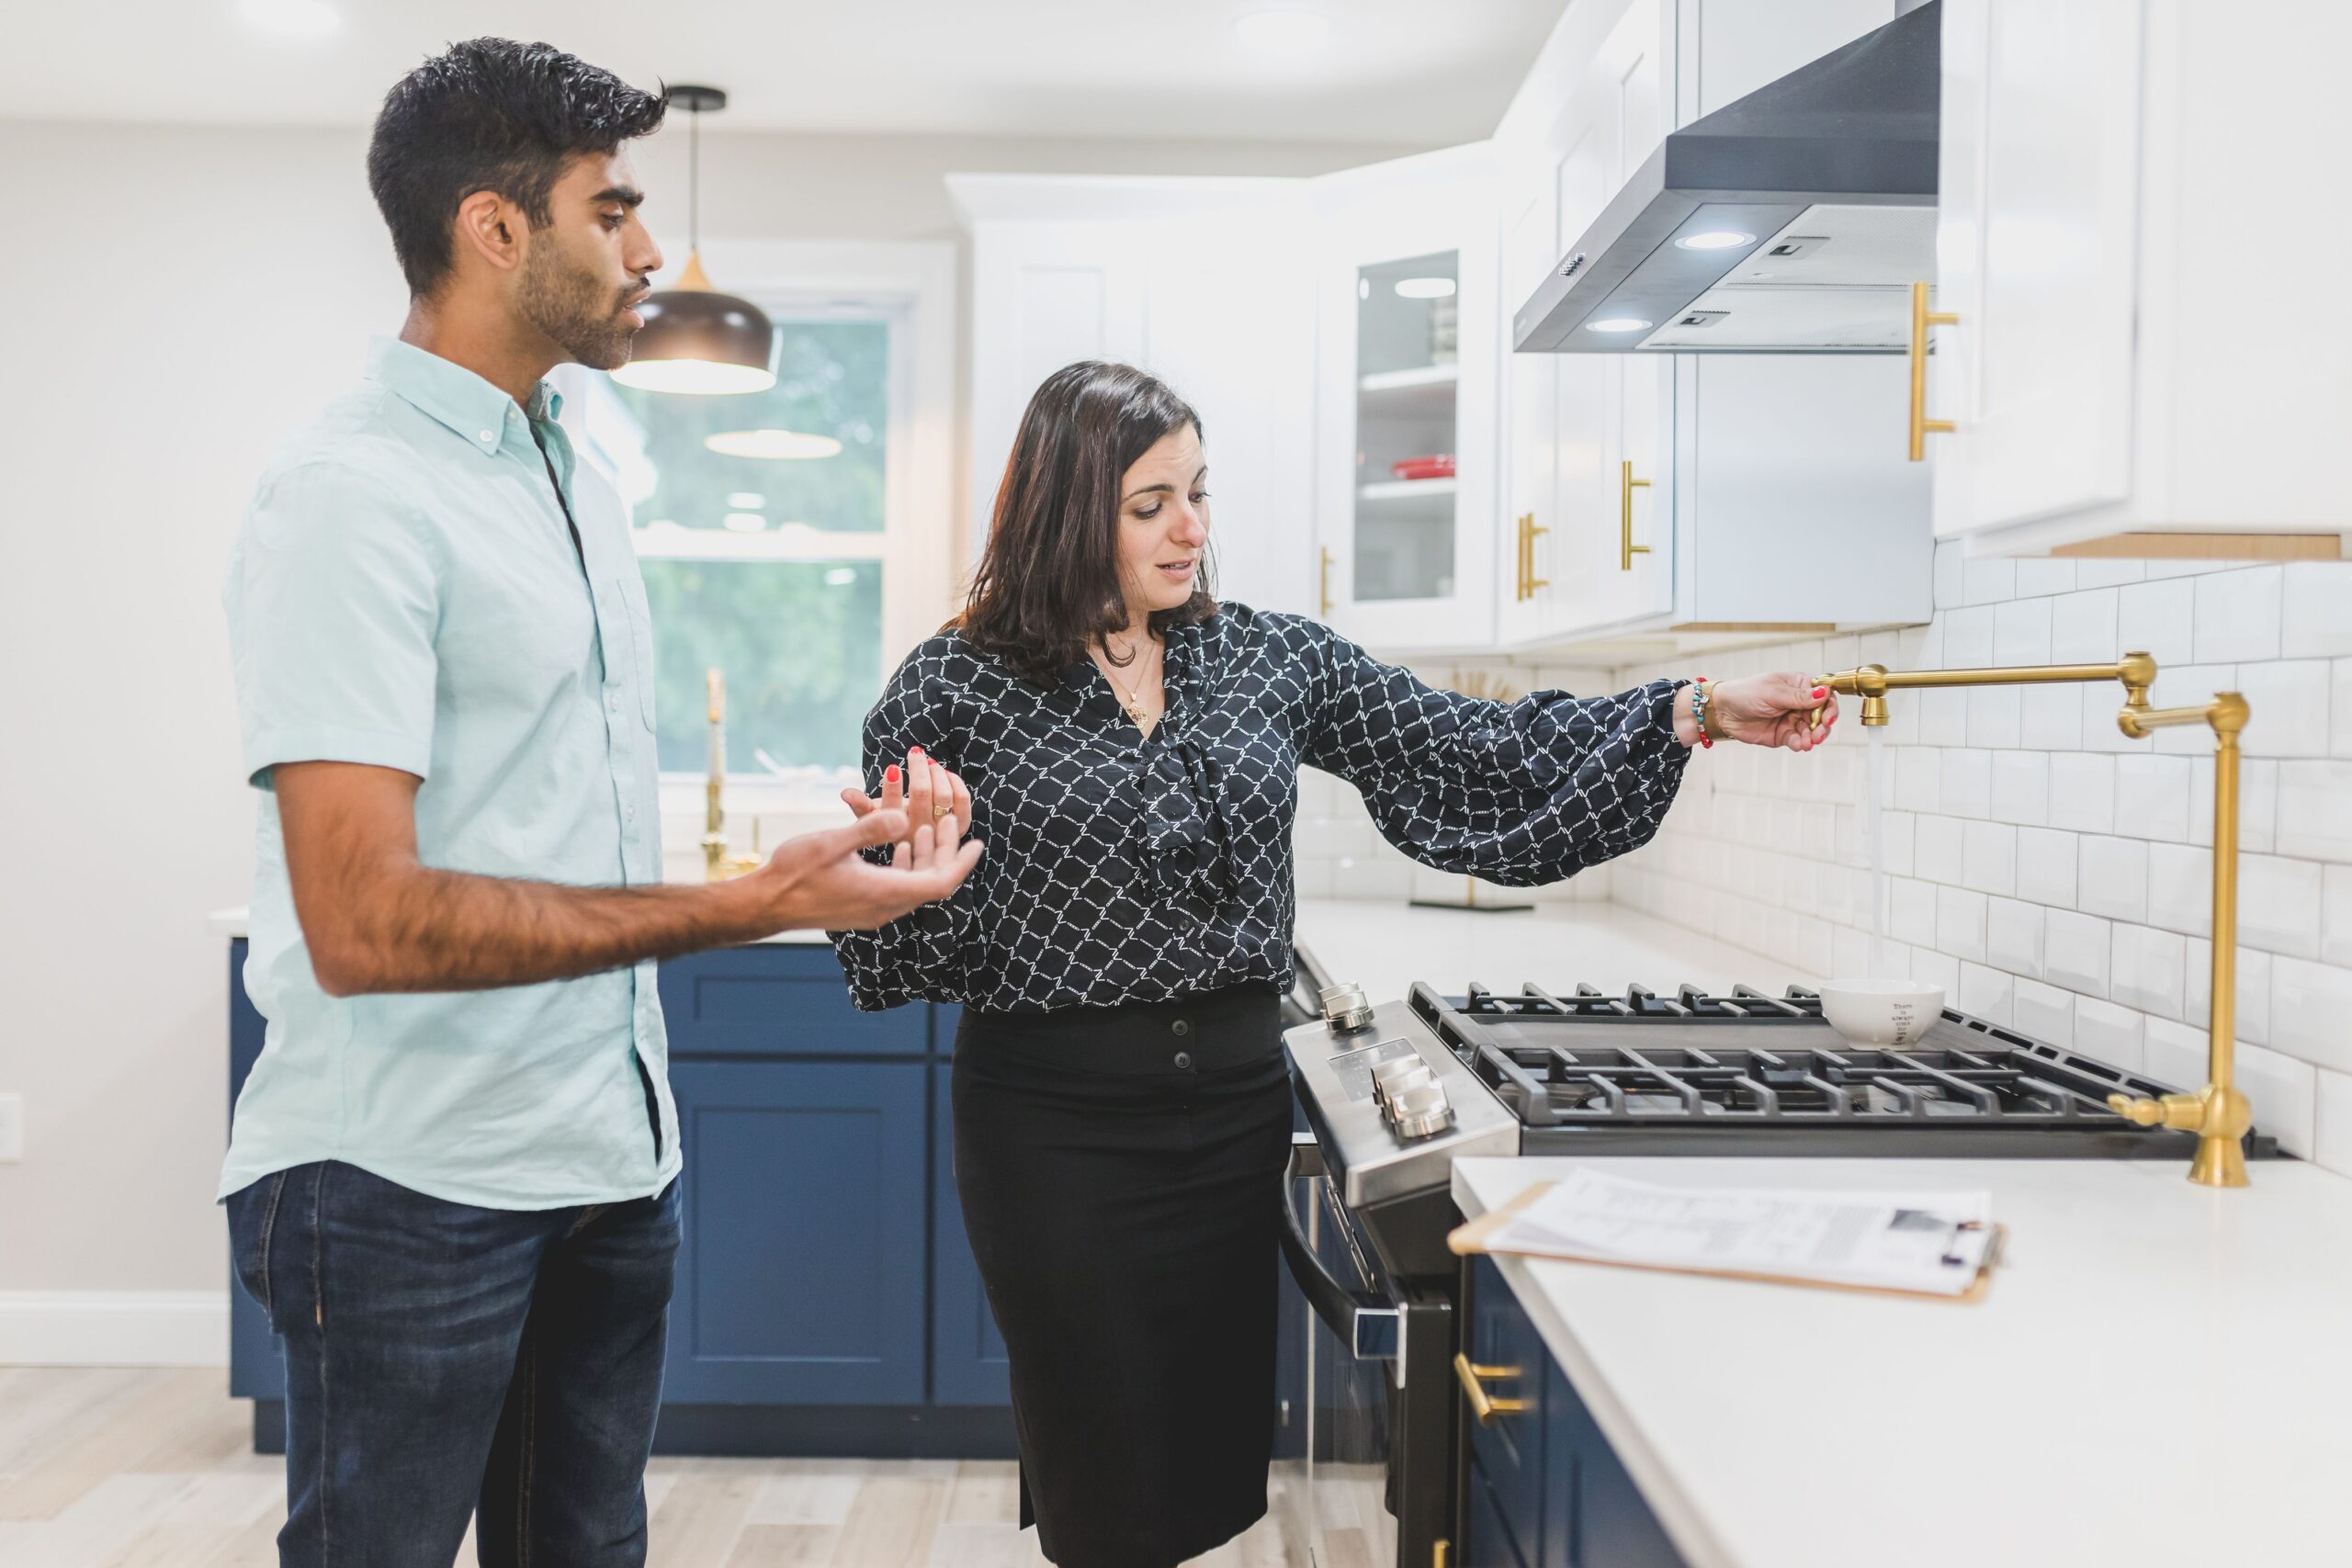
Some builders separate the new home orientation from the final walkthrough, so confirm when each appointment takes place and what it will cover. An earlier orientation may introduce the home and provide an opportunity to record items needing attention. The final walkthrough can then include checking the status of those items before closing.
These appointments do not replace a professional home inspection. You don’t need construction expertise to participate effectively, though. Your role is to observe, ask questions, and explain your concerns. If something looks unfinished or operates unexpectedly, point it out rather than feeling responsible for diagnosing the cause.
How to Prepare for Your Walkthrough
The best way to ensure your walkthrough is effective is to come prepared. Start by confirming your appointment and asking about any details your builder needs you to know before arriving. Knowing who will attend, how much time to allow, and what the appointment covers can help you feel confident about what to expect. Ask whether utilities and installed systems will be ready for demonstrations. Useful things to bring include:
- A New Home Walkthrough Checklist: A consistent list helps you review each area without relying solely on memory. Leave room to add questions and concerns.
- A Phone or Camera: Pictures can help your builder understand exactly what needs attention. Pair each photo with a short description and its location.
- A Notebook or Digital Notes: Record explanations, agreed next steps, and follow-up appointments so important details are easy to revisit.
- Relevant Selection Records: Bring documentation of the finishes, fixtures, and appliances you chose to help clarify what was included.
- Previous Punch Lists or Inspection Reports: Keep relevant documents on hand to follow up on previously recorded items.
Ask how your builder prefers concerns to be documented. Some builders use a blue tape walkthrough, where painter’s tape marks visible items needing attention. Confirm permission before applying tape, and use it alongside a written record rather than as the only way of identifying concerns.
Check Interior Finishes, Doors, and Windows
When moving from room to room, take a deep breath and remember: you came prepared! Your final walkthrough checklist can help you focus on visible condition, basic operation, and whether installed finishes match your documented selections. Reviewing the same categories in each room keeps your process consistent.

Walls, Ceilings, and Trim: Look for unfinished paint, visible damage, gaps, or areas that need clarification.
Flooring: Check for visible scratches, chips, stains, loose edges, or transitions between materials that raise concerns.
Cabinets and Countertops: Look for visible damage and unfinished areas. Open drawers and cabinet doors to check that they move freely without rubbing against adjacent surfaces.
Doors: Open and close doors, check handles and locks, and note any sticking or difficulty latching.
Windows: Ask how they operate and check accessible windows and locks with the builder’s guidance. Note damaged glass, screens, or hardware.
Selected Finishes: Compare installed materials, colors, and fixtures with your documented design center selections if something appears different.
Remember that some materials, such as wood and natural stone, have variations in color, grain, or pattern. A difference in appearance does not automatically mean something was installed incorrectly or requires replacement. You should still raise questions about anything that concerns you and ask how it will be evaluated against your selections and applicable standards.
Review Plumbing, Electrical, Heating, and Appliances
For the larger systems throughout your home, understanding how to operate them is an important part of your new home orientation. Ask for demonstrations, review the available operating manuals, and have your builder explain anything unfamiliar. Things to look for include:
Plumbing: Ask to run faucets and showers and flush toilets. Look for visible leaks around fixtures and beneath accessible sinks while water is running. Note drainage concerns or unexpected operation.
Electrical and Lighting: Operate accessible switches and check installed lights. Ask your builder to explain outlets or controls whose purpose isn’t obvious, including ground-fault circuit interrupter (GFCI) outlets and their reset buttons.
Heating, Cooling, and Ventilation: Make sure you understand how to adjust the thermostat, locate filters, and operate bathroom and kitchen exhaust fans. Heating and cooling demonstrations may depend on outdoor temperatures and equipment requirements.
Included Appliances: Confirm which appliances are included and ask for operating instructions or demonstrations where appropriate. Note visible damage, missing parts, or questions about operation.
Shutoffs and Safety Features: Ask where the main water shutoff and electrical panel are located. Have your builder explain smoke and carbon monoxide alarms, where installed, and their testing instructions.
A brief demonstration cannot reveal every potential problem. Ask about anything unusual and whether further evaluation is needed. Leave tasks such as removing electrical panel covers, adjusting internal equipment components, or testing gas shutoffs to qualified professionals.
Walk Around the Exterior and Garage
It’s easy to focus on the interior during a new construction walkthrough, but the outside deserves the same attention. Take time to explore the yard, porch, entryway, and garage with your builder. Review accessible areas from ground level and ask about anything you cannot see clearly. Look for things like:
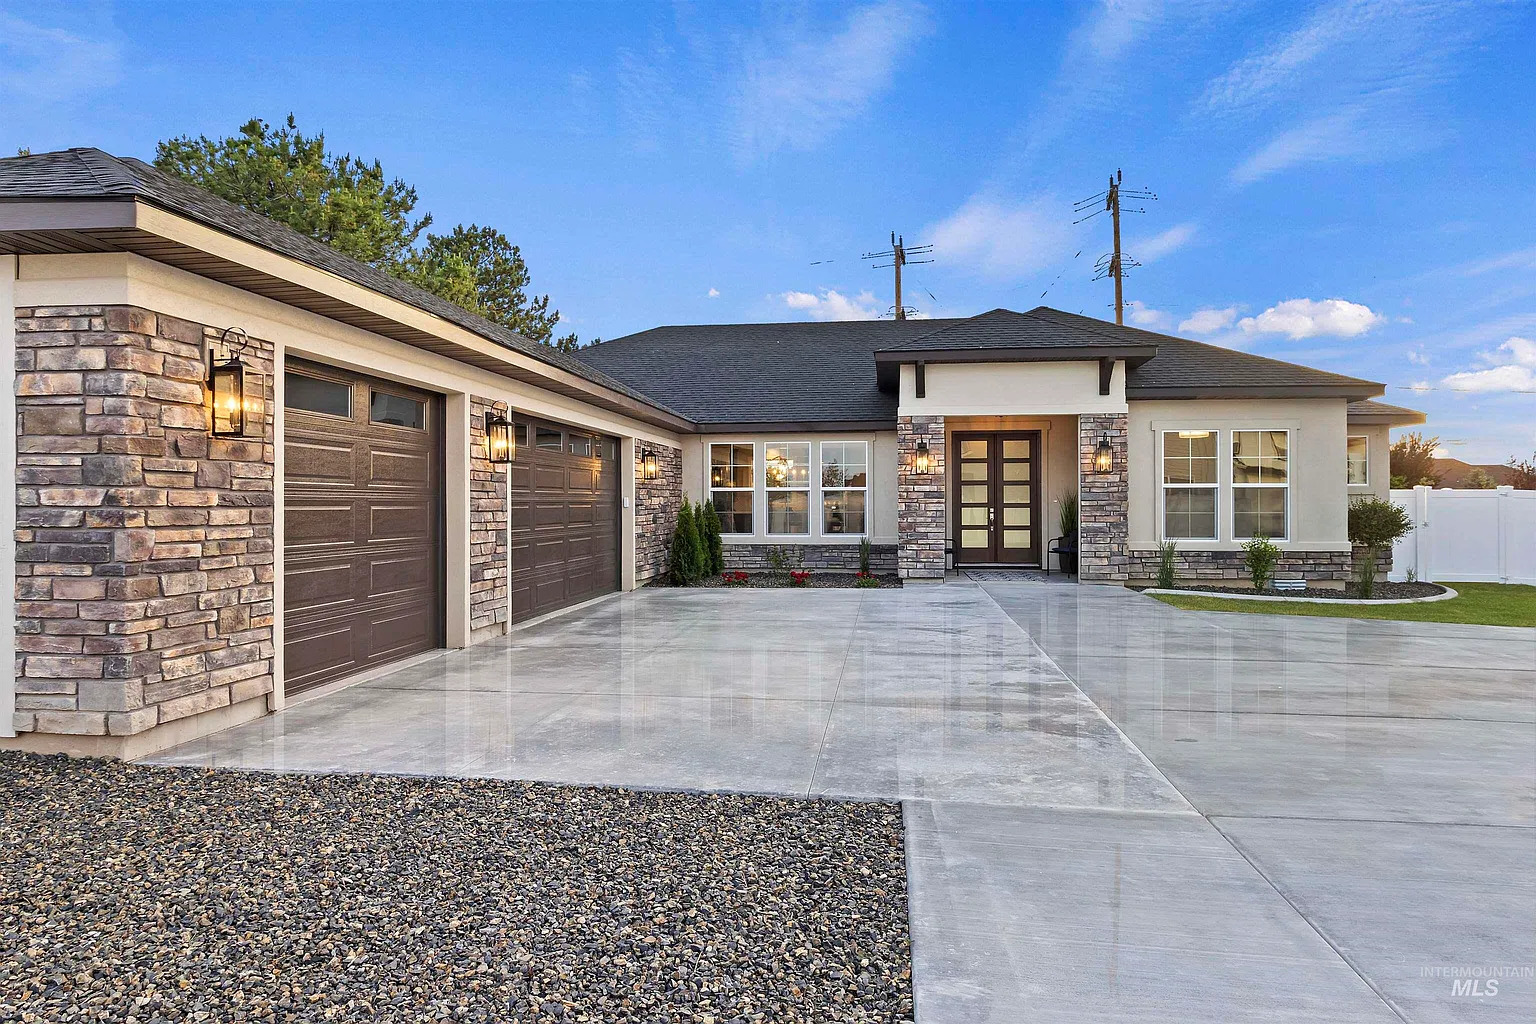
Siding, Exterior Trim, and Doors: Look for visible damage, unfinished surfaces, or gaps that need explanation. Check exterior door hardware and locks if you haven’t already.
Driveways, Walkways, and Patios: Note visible damage or uneven areas. Ask your builder to evaluate concerns rather than assuming every concrete crack requires replacement.
Roof, Gutters, and Downspouts: Review what is visible from the ground. Ask about unfinished components and where downspouts direct water.
Grading and Drainage: Ask how water is intended to move away from the home. Point out standing water or other concerns for your builder to evaluate.
Garage: Review visible surfaces, lighting, and included features. Ask for a demonstration of the garage door, opener, and safety features.
Landscaping and Seasonal Work: Confirm what is included, what remains unfinished, and the expected schedule. If irrigation is included, ask about operating instructions and sprinkler system care.
Weather-dependent work may need a separate completion schedule. Make sure you understand which exterior items are still planned and what care any newly installed landscaping requires.
Document Concerns and Create a Punch List
A new construction punch list is a written list of unfinished work or items needing attention near the end of construction. Use your builder’s preferred form or system to keep observations organized. Useful entries include:
A Specific Location: Name the room and exact feature so there is no question about where the concern is.
An Observable Concern: Describe what you see or what happens during normal operation. Avoid diagnosing the cause.
A Photo Reference: Label a clear picture with a number or name that connects it to the written description.
An Agreed Next Step: Record whether the item needs evaluation or has an agreed action.
Expected Timing: Document agreed timeframes and ask how schedule updates will be communicated.

For example:
Primary bedroom window nearest the closet does not latch when closed. Photo 4 shows the location. Builder to evaluate and confirm next steps.
Review your new home punch list with your builder and keep a copy. Make sure you both understand which concerns are awaiting evaluation and which have an agreed action. Clear descriptions make each item easier to locate and follow up on.
Confirm Next Steps Before Closing
Before leaving the final walkthrough, confirm which punch-list items are expected to be addressed before closing and how any remaining work will be scheduled and checked. Ask whether another visit or update is needed to verify completion.
If a concern could affect your decision to proceed, discuss it promptly with your builder and the real estate or closing professionals assisting you. Whether an unresolved item affects closing depends on the issue and your agreement, so make sure you understand the arrangements before moving forward.
Confirm when you will receive keys, remotes, operating manuals, and relevant home-care documents, along with when you can take possession. Ask whom to contact after closing and how service requests should be submitted.
Finally, don’t assume unfinished work will automatically be handled through warranty coverage. Understanding your new home warranty can help you distinguish coverage questions from outstanding walkthrough items. Clarify how remaining work will be handled and keep the agreed arrangements in writing.
Preparing for Your Wolverton Homes Walkthrough
Seeing your completed home come together is an exciting moment. A little preparation can help you enjoy it while learning about the features you’ll soon be using every day.
Wolverton Homes’ New Home Orientation and Home Care information describes our pre-closing orientation with a Buyer Liaison to review your home and answer questions. Confirm your appointment details with the team so you know what to bring and how the visit will work.
Whether you’re approaching your walkthrough or beginning to explore a new home in Twin Falls or the Magic Valley, contact Wolverton Homes to discuss where you are in the process and what comes next.